Description
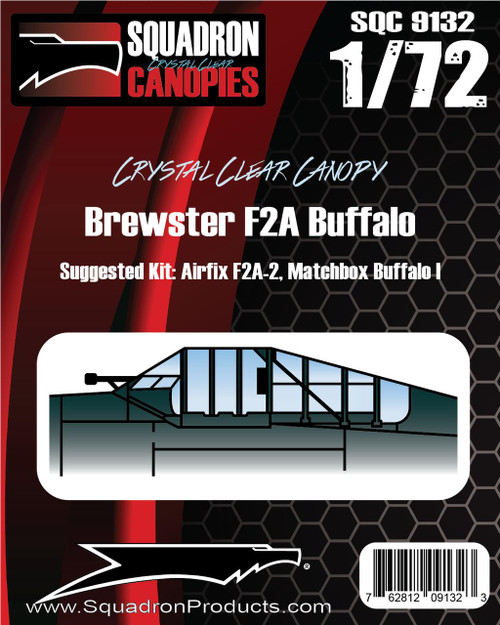
INCLUDES: Nose Cone, Cockpit Canopy, Waist Windows, Radio Room Cover
The rear of the sliding section is designed to overlap the fixed piece. To fit the Crystal Clear canopy to the Airfix
kit, trim away the area marked X from the kit fuselage. To fit the rear piece to the Matchbox kit, trim the area
marked Y from the Crystal Clear item. A hole will need to be drilled in the windshield to accept the telescopic
gunsight of the F2A-2. Also included is the underbelly window that is not present in the Matchbox kit.
TRIMMING:
Insert a new blade into your modeling knife or scalpel. To separate the canopy from its base. Score very gently around the ledge molded at the bottom. Do this very lightly at first. with minimum pressure. Repeat the process until the canopy pops away from the ledge. If you score too heavily at first, you risk slipping and ruining the canopy. Finally, any rough edges can be cleaned up by lightly sanding with a Squadron Tools® Extra Fine Sanding Stick. If you intend to separate the canopy for display in the open position, we suggest cutting the break-lines before you cut the canopy from its base.
GLUING:
Cyanoacrylate Super Glue can be used to fix the canopy to the kit. It gives a fast-setting permanent joint, but fumes given off when setting can cause frosting on clear parts. Where possible, mask around the joint with masking fluid or tape. PVA (white glue) is also useful as it is partly gap-filling, doesn't attack the plastic and dries clear.
PAINTING:
The best way to achieve crisp and convincing frame lines is by applying pre-painted strips of decal film. Paint part of a sheet of clear decal film, then cut strips of the correct width with a sharp blade and a straight edge. Decal fil sticks better to a painted surface than to bare plastics, so you will have to paint and undercoat on the frame lines marked on the canopy. This technique may not be suitable for canopies with large or irregularly shaped framed areas. For these canopies we suggest you mask the clear areas with clear adhesive tape and then remove the masking after painting.
WHICH KIT TO USE?
Please note that where we suggest a certain kit as suitable for our replacement canopy, the suggested kit is generally regarded as the most accurate model to the given scale. We cannot guarantee that our canopy will fit other kits of the same subject.


